Today tubeless systems are considered super beneficial for tire universe. And so, it’s have made a permanent place in the heart of mountain bike makers. And why won’t it do so? We all know how blessed with no worry’s things have been without that inner tube.
And the main glory here is getting rid of dreaded pinch flats. This makes it so much better with traction by lower tire pressure benefit. Also, the small thorn in your tire or any tiny tear would be easy to take care of with any sealant inside it.
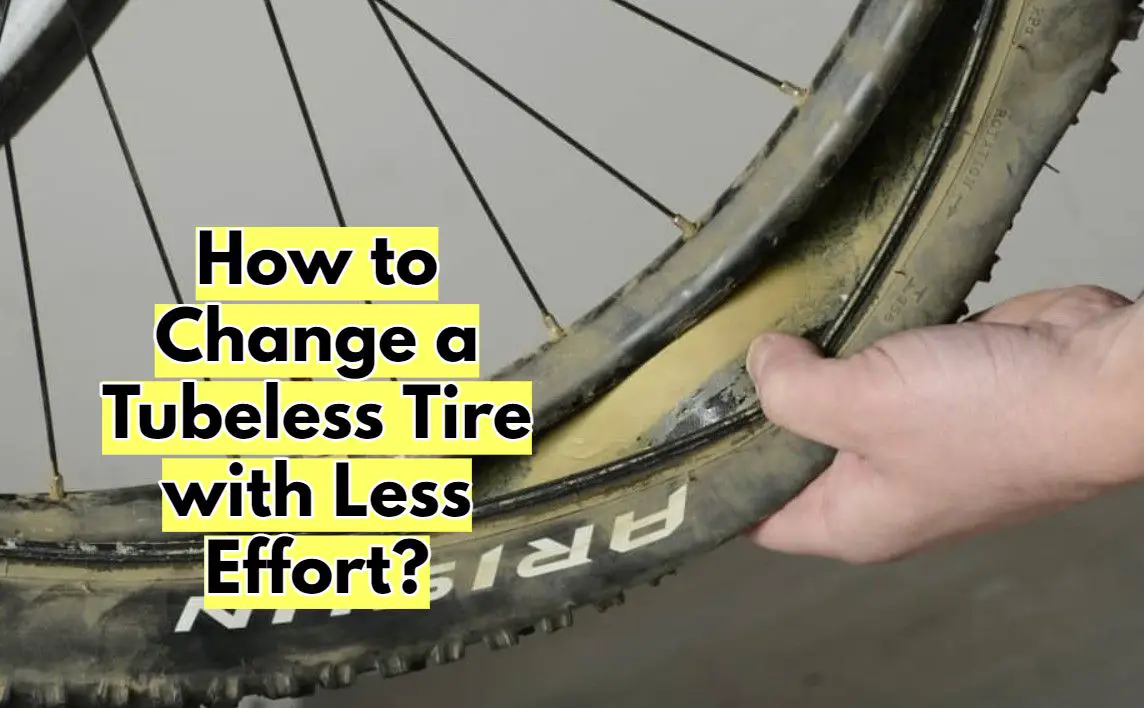
However, the need to change a tubeless tire is still there. That could be due to the old one getting worn out or simply for maintenance sake. So here we are today talking on this very useful know-how thing, how to change a tubeless tire.
Here’s How to Change a Tubeless Tire?
Let’s keep things simple and go for an in-depth conversation. We’ll talk about the whole process from end to last for helping those who have never done it before.
Get the Tools Ready
When searching for how to change a tubeless tire, the first thing you need is the good tools to be ready for the following processes. You see, changing a tubeless tire need to done in a perfect way and for that, you’ll need a suitable tool to get the job done well.
So, get ready to buy tire levers, tire sealant, and valve core remover on any near store where you live. These tools are really essential for doing the following processes.
In fact, you’ll need these tools is they make the tire install easily and fit securely after removing your previous tire.
Aside from these tools, you will also need a good glove to do the process without making your hand dirty. After you have brought all the items from the store, follow the next step.
Deflate the Tire
The next step is to deflate or air out your used tire. Now, this step is really amazing as you’ll need to fully deflate the tire by pressing down and following some rules.
At first, you want to open up the tip of your valve core and slightly and gently want to press it for a good while. When you are pressing it, make sure it doesn’t get stuck out. Also, make sure you are carefully and slowly pressing it down so that the tip of the valve core doesn’t break out.
When you are airing out the tire, make sure to keep the valve away from the downward position. Try to sit the tire in a straight position where you can rotate and do whatever process you want.
In this process, you want to continuously press down the valve core tip until you see your used tire is fully deflated. And then, rush to the next step.
Press Down Both Sides of the Tire
After that, you want to fully assure that the tire is removed from all the air by pressing it down from both sides. Before doing so, make sure you are wearing the glove.
To start this process, use your right hand in the right side of the tire and left one on the other side and start pressing alongside. Make sure you have pressed down all the way to where you started.
Try to press down the tire to the rim so that the tire easily breaks apart by loosening the bead. If you are done doing this process, run to the next step.
Remove the Tire from the Rim
Then, you want to remove the tire from the rim that has been loosening up. For doing this step, you want to use your brought tire levers to cut the sidewalls that are loose.
Once you have used your tire levers to remove the tire in the right way, make sure to check the bottom of the tire as it has fluid. If your tire has a lot of fluid, then you want to follow the next process.
Clean the Sealant
Afterward, wipe down the bead seat area and the rim. To change the tire, you want to get rid of the fluid. For that reason, take any clean cloth that will help you to remove the sealant. Make sure you have cleaned the bead seat as well as the rim to continue the next process.
Insert the New Tubeless Tire
After you have checked your valve that should be secured in the rim, you want to insert the new tubeless tire. For that, you want to align the tire with the rim rightly and place the tire where the label is written on the valve core.
At that time, install the one side bead on the rim by pressing it down. After that, insert the second bead at the valve. Ensure to leave a section of the bead unattached.
Use Sealant to Attach the Tire
Now, you want to finish the process by using the sealant to attach the tire securely. In the place where you unattached the bead, put sealant based on the number your tire label suggested to use.
After filling sealant, carefully you want to rotate the wheel so that it reaches all the way. Then attach the bead that is unattached.
Conclusion.
The main concern you should have while learning how to change a tubeless tire is being careful and spending time on sorting confusion. Don’t proceed with the actual process before being completely aware of the whole situation.
You can of course get someone professionally deal with it if the thing seems to be a risk. It’s best to stick with the safe route and avoid any chance of damage. After All, you don’t want to hurt your bike.